
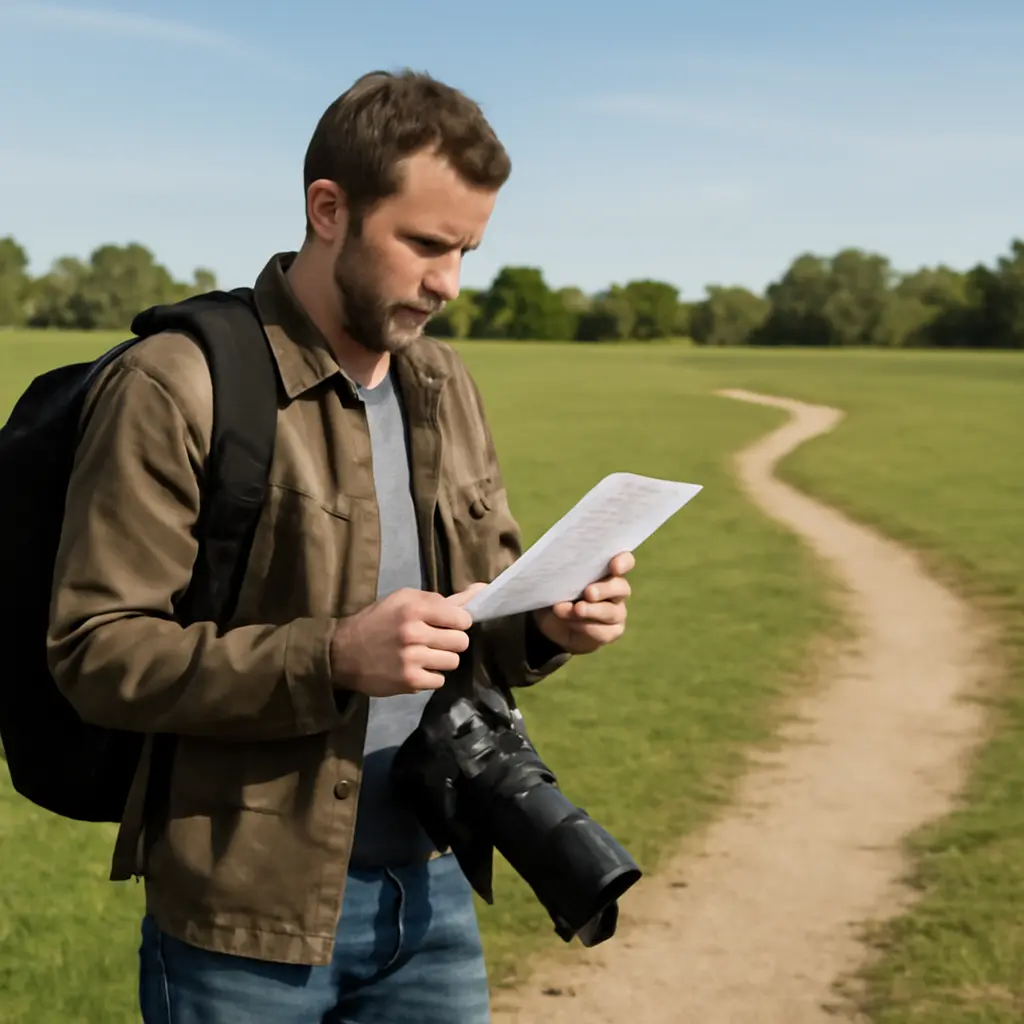
A photography plan is a practical outline of what you need to photograph, where and when you’ll do it, and how you’ll prepare for changing conditions. New photographers often skip this planning step and discover the cost on location: missed moments, unusable images, rushed decisions, or avoidable expenses. A simple shot list, location check, light-and-weather review, and backup plan can prevent many of these problems. The value is especially clear when time is limited: the U.S. National Park Service advises visitors to plan ahead and check conditions, while the National Weather Service emphasizes that forecasts and alerts can change and should be monitored. Planning does not guarantee a perfect photograph; it gives you more chances to make one.
Photography planning reduces preventable mistakes
Photography planning is the process of deciding in advance what images you want and preparing the people, equipment, location, timing, and contingencies needed to make them. It can be as brief as a five-minute checklist for a walk or as detailed as a production schedule for a paid shoot. The key is matching the amount of planning to the stakes: a missed frame on a casual outing may be disappointing, while a missed moment at a wedding or one-time event may not be repeatable.
The American Society of Media Photographers’ business guidance encourages photographers to clarify assignments and expectations before work begins. That principle applies even to personal projects: knowing the intended subject, format, and deliverables helps you choose suitable equipment and settings. The main forms of planning are shot planning, location scouting, light and weather planning, equipment preparation, and contingency planning.
A shot list turns an idea into specific photographs
A shot list is a short inventory of images to capture, often arranged by priority. For a family portrait session, it might include a full-group image, individual portraits, a few candid interactions, and detail photographs. For a hiking trip, it could include a wide landscape, a foreground detail, and a portrait showing scale. A list is not a rulebook; it is a reminder that protects the essential images when time, weather, or cooperation runs short.
Prioritize must-have frames, then leave room for spontaneous opportunities. This is particularly useful at events, where moments unfold quickly and cannot simply be repeated. A concise list also helps avoid overshooting the same composition while forgetting a necessary variation, such as a vertical image for a cover or a wider frame that shows context.
Location scouting reveals constraints before they matter
Location scouting means checking a site in advance, either in person or through reliable maps and reference images. Look for access rules, parking, walking distance, likely backgrounds, safe places to work, and restrictions on tripods or commercial photography. The National Park Service notes that park rules and conditions vary by site; photographers should check the relevant park’s current guidance rather than assume that the same rules apply everywhere.
Scouting can also uncover practical complications: construction, crowds, reflective surfaces, limited room, or a subject positioned against a distracting background. If a site visit is not possible, use maps and recent imagery as a starting point, then build in time to inspect the scene on arrival. Remote research cannot guarantee that conditions remain unchanged.
Light and weather planning shape the result
Light planning is deciding when and how available or artificial light will support the image. The same location can look dramatically different as the sun moves, clouds pass, or interior lights change. Rather than assuming that “golden hour” will solve every situation, consider the direction and quality of light, the subject’s position, and whether you can return at a better time.
Time of day determines light direction and contrast
Low-angle sunlight near sunrise or sunset often creates longer shadows and warmer-looking illumination, while midday sun can produce harder contrast and deep shadows. These are tendencies, not guarantees: cloud cover, buildings, trees, and reflective surfaces all alter the light. For portraits, open shade or window light may be more reliable than direct sun; for landscapes, the direction of light can emphasize texture or silhouette.
Before a planned shoot, check local sunrise and sunset times and identify the direction your subject will face. Weather forecasts can help, but they are estimates rather than promises. The National Weather Service advises people to monitor forecasts and alerts because conditions may change. A useful plan therefore includes a second time, viewpoint, or lighting approach instead of relying on a single predicted condition.
Weather contingencies protect the shoot and the photographer
A weather contingency is a preselected alternative if rain, wind, heat, cold, or poor visibility makes the original plan impractical. Options include moving indoors, changing the location, protecting equipment, rescheduling, or shifting to details and close-ups. Check official forecasts close to departure, and follow local safety instructions; dramatic weather is not worth risking injury or damaging equipment.
For outdoor work, pack weather protection appropriate to the forecast and know how you will keep camera gear dry and secure. Wind can affect tripods and stands, while cold can shorten battery life. A fallback plan is especially valuable for travel and milestone events because the opportunity may be difficult or impossible to recreate.
Equipment and workflow planning prevent avoidable failures
Equipment planning means preparing a dependable, appropriately sized kit rather than carrying every item you own. The right kit depends on the assignment, but a charged camera, suitable lens, formatted memory card, and a way to protect or back up important files are common starting points. The goal is not maximum gear; it is having the essentials needed for the photographs on your shot list.
A pre-shoot checklist catches small problems early
A pre-shoot checklist is a repeatable inspection before leaving or beginning work. Charge batteries, confirm that memory cards have adequate space, check that the lens is clean, and verify key settings such as file format and date and time. If using a tripod, flash, filters, or remote trigger, test each item before the shoot rather than discovering a fault when the light is fading.
- Camera body, chosen lens, and lens cap
- Charged batteries and a spare when appropriate
- Memory cards with confirmed available capacity
- Weather protection, cleaning cloth, and any required support or lighting
- Location details, contact information, and permission or access confirmation
For important work, consider how images will be protected after capture. The 3-2-1 backup approach—keeping three copies of important data, on two types of storage, with one copy off-site—is a widely used data-protection guideline. It may be more than a beginner needs for every outing, but it illustrates the principle: valuable photographs should not depend on one card or one device.
A schedule creates time for the photographs that matter
A shoot schedule allocates time for travel, setup, the priority images, and unexpected delays. Beginners commonly underestimate how long it takes to park, walk to a viewpoint, arrange a group, or adjust equipment. Add a buffer, especially when working with children, clients, public locations, or changing light.
For a short session, a simple sequence works: arrive and assess the light, make the essential images first, then experiment with alternate compositions. For a longer assignment, note the order of locations and the time-sensitive shots. This keeps creative exploration possible without letting it displace required photographs.
A practical planning routine makes improvement repeatable
Planning is most useful when it stays lightweight enough to repeat. Before a shoot, write down the purpose, three to five priority images, location and access details, expected light and weather, essential gear, and one fallback. Afterward, review what worked and what failed. That brief debrief turns an unpleasant surprise into useful information for the next outing.
- Define the purpose and the photographs you must bring home.
- Check the location, permissions, travel time, and likely conditions.
- Choose a realistic kit and test essential equipment.
- Set a schedule with a buffer and a backup option.
- Review the results afterward and update your checklist.
For example, a beginner planning a beach portrait session might scout access and parking, check sunset and the forecast, list the essential family combinations, pack a reflector and spare battery, and choose a nearby covered alternative. If wind or rain arrives, the photographer can adapt rather than spend the session improvising from scratch. The plan does not control the weather or guarantee every expression; it preserves time and attention for responding well.
Conclusion: plan the shoot before the moment arrives
Photography planning connects the shot list, location, light, weather, equipment, and schedule into one practical preparation step. New photographers who skip it risk losing images to preventable problems, from a full memory card to a closed access point or fading light. Start with a short checklist, verify current conditions and rules, and keep a fallback for the parts you cannot control. Then review each shoot and refine the process. A little preparation leaves more room for creativity when the camera is in your hands.
Sources: American Society of Media Photographers, Business Practices, https://asmp.org/resources/business-practices/; National Park Service, Plan Your Visit, https://www.nps.gov/planyourvisit/index.htm; National Weather Service, Weather Safety, https://www.weather.gov/safety/; Cybersecurity and Infrastructure Security Agency, Data Backup Options, https://www.cisa.gov/news-events/news/data-backup-options.